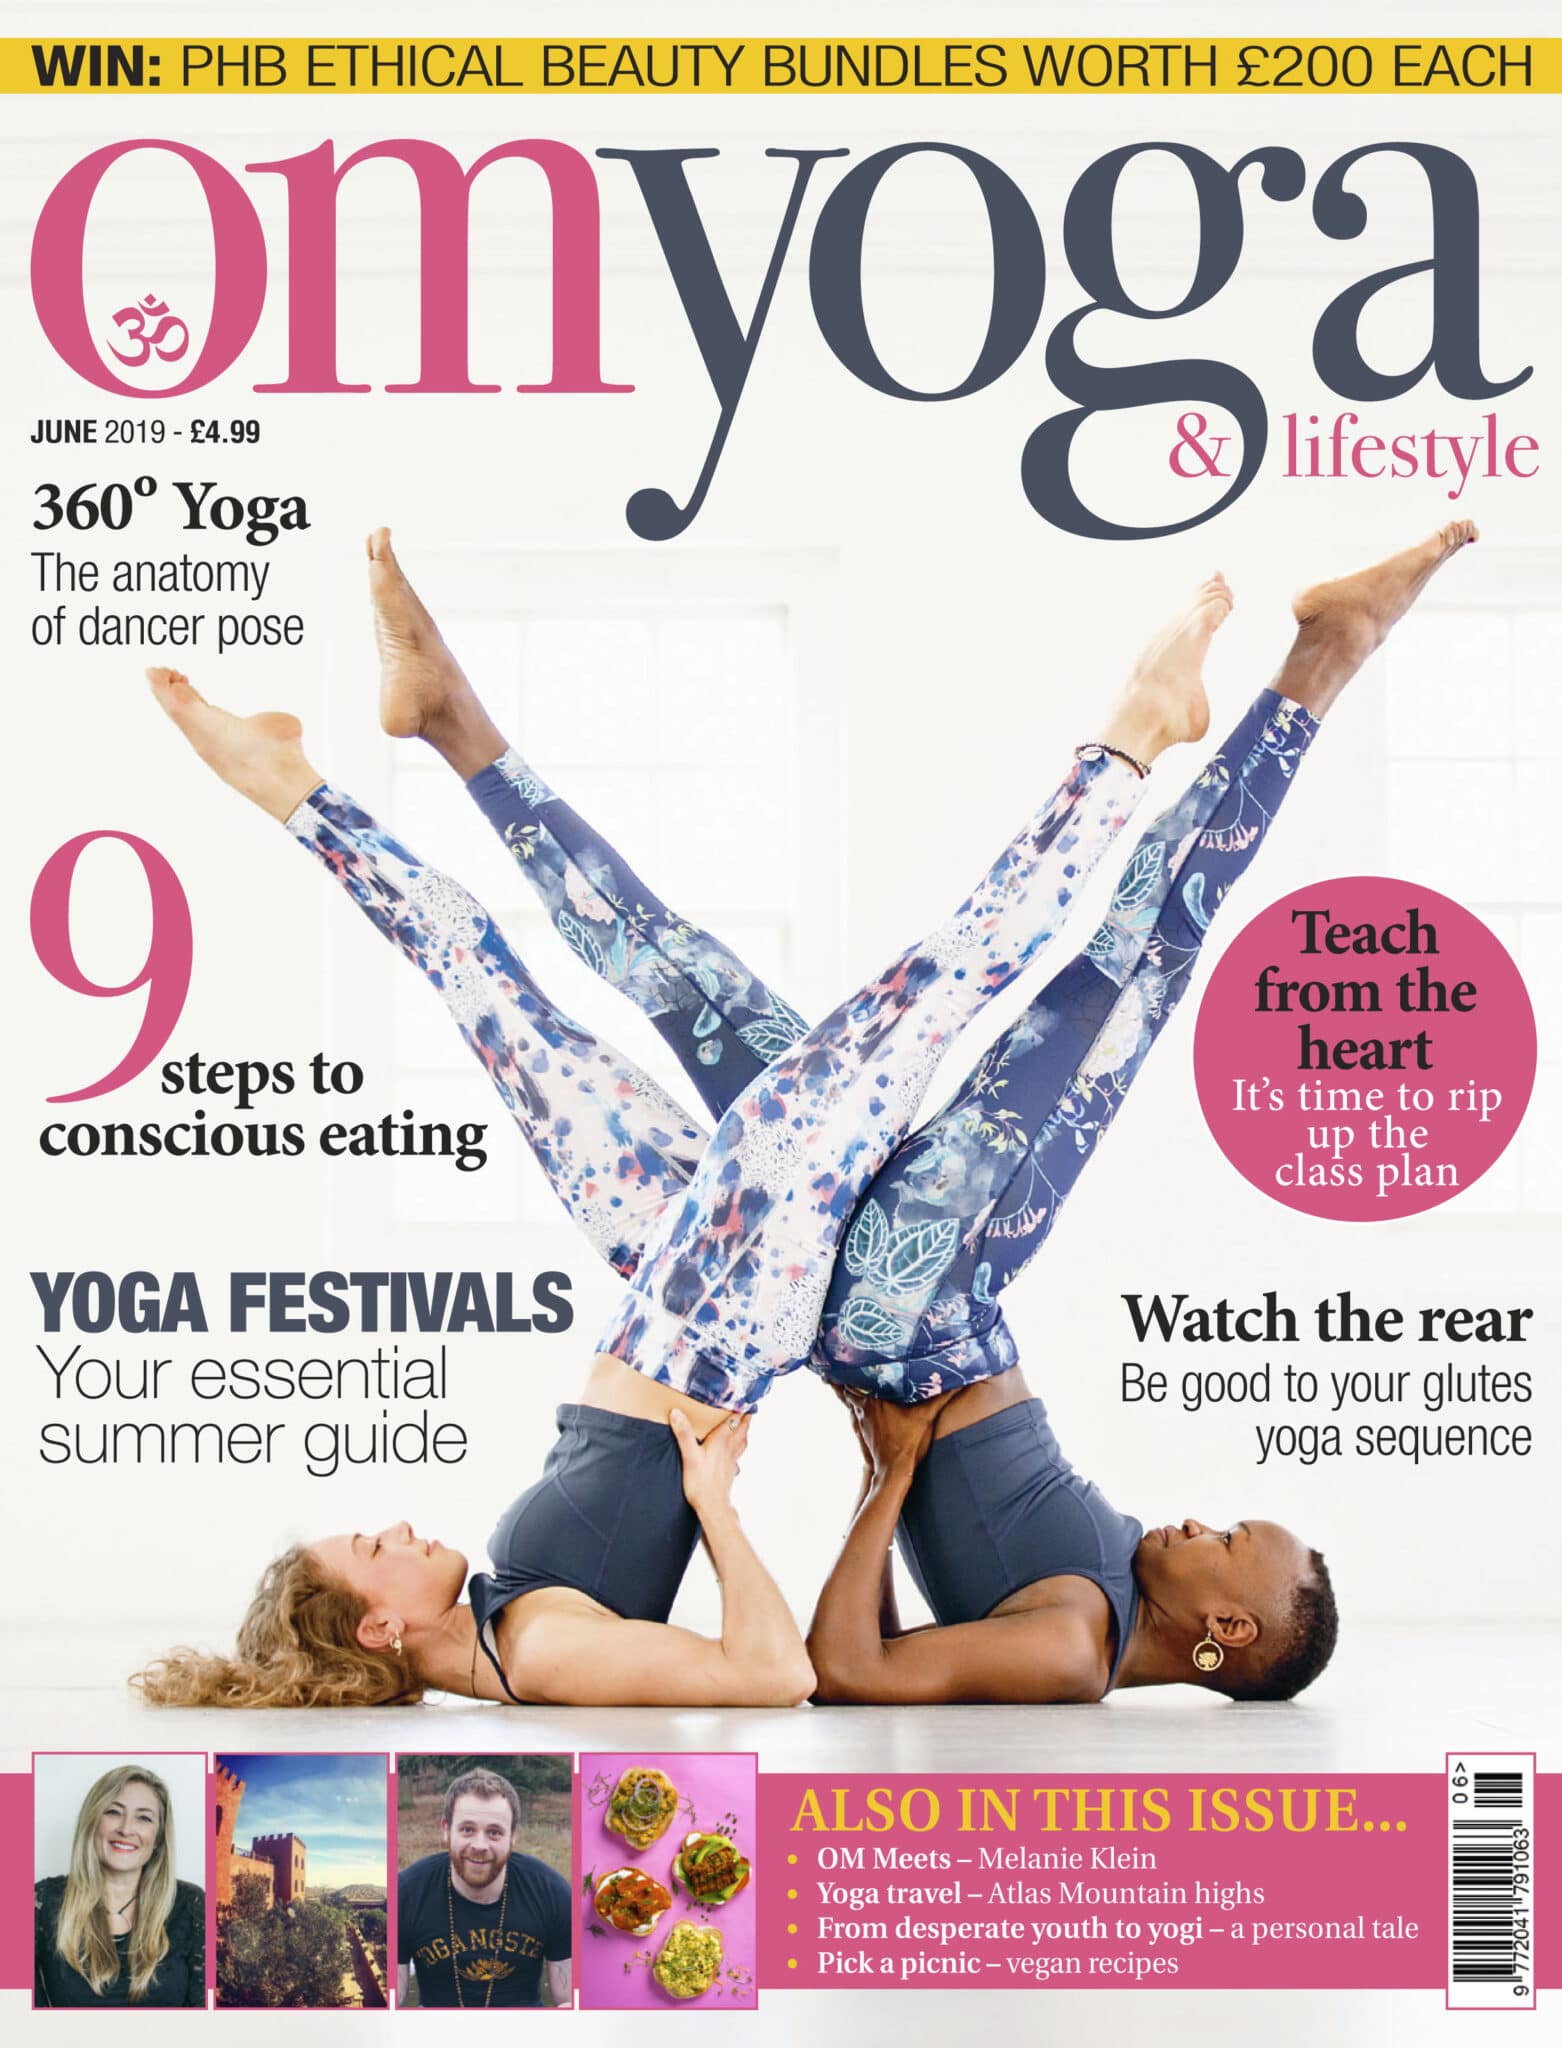
Watch the rear
Keep your rear strong with this glutes and hamstring strengthening sequence from Laura Burkhart
Many experienced practitioners and teachers are speaking up about their struggle with injuries due to excessive stretching and repetitive stress. In the pelvis alone, a great number of long-time yogis are experiencing femoral acetabulum impingement, labrum tears, nerve issues as well as hip flexor and hamstring attachment tears and tendinosis. I’m personally dealing with and managing all of these pelvis ailments through rest, physical therapy, plasma injections, acupuncture and a major hip surgery, and have connected with a number of practitioners walking down a similar path.
According to physical therapist, Dr. Charles King, stretching your glutes and hips is great for creating space in your lower back to relieve back pain, but consistently over-stretching your glutes and hips without strengthening them can cause instability and excessive elasticity in the hip joint capsule, which can potentially lead to hip impingement and labrum tears. During asana practice we’ve often been told not to engage our glutes, especially during backbends, which means other muscles have to compensate for a job that is suppose to be done by our body’s main powerhouse and locomotor.
The asana practice is also bias toward over-stretching the back of the body, especially the hamstrings. Dr. King says habitually stretching and holding the hamstring muscles in an elongated position without counterbalancing the stretch with strength exercises can lead to muscle fibres unraveling and potentially tear in order to protect the sciatic nerve from being overstretched.
All this being said, he believes yoga is among the best choices for physical movement. He encourages about 60% of patients to take yoga because it’s lower risk – but still plenty of injuries do happen. He has also found it is usually the new person to yoga that gets injured, not those who have been practicing for a long time. I do think asana practice is amazing and life changing, but can be made safer by balancing out the practice with strength building asanas. Below you’ll find glute, hip and hamstring strengthening bridges, as well as optional goddess pose variation and navasana to create strength in glutes, hamstrings and hip flexors. The practice is balanced out with some mild stretching of the shoulders, hips, hamstrings and relaxation of the pelvic floor.

Optional Beginning
Low lunge sun salutations & goddess pose
Hold goddess pose for 30-seconds, pulse 10-times, Hold 20-seconds. Then forward fold into Prasarita Padattanasana. Repeat goddess pose 1-2 more times.

1. Locust (salabhasana)
Open shoulders and strengthen glutes. Rock forward to plank pose, lower your knees and chest to the floor, making your way to your stomach. Reach your fingertips toward your ankles, palms facing the floor, or interlace your fingers at the base of your spine. Hug your legs in toward one another. Press your pubic bone down. When you inhale, lift your chest up away from the mat. On an exhale, engage your core, lift your upper arms toward the sky while keeping the back of your neck long. Stay here engaging your glutes, or for increased glute activation lift your legs away from the mat, spin your inner thighs up toward the sky as you lengthen your tailbone toward your heels. Continue to breathe. Hold for 3 breaths then release your chest and legs to the mat. Gently rock your hips from side to side letting go of any tension in your lower back. Repeat 2 more times.

2. Shoulder and chest opener
Stay on your stomach. Take your right arm out to a “t” position and 1-inch above shoulder height. Keep your right arm straight, or for more chest opening, bend your right elbow to a 90-degree angle. Bend your left elbow, press your left fingertips into the floor and roll into your right arm, stacking your left hip on top of your right hip. Stay as is, or take the ball of your left foot onto the floor behind your right knee. Hold for 3 breaths and change to the opposite side.
OPTIONAL: Add boat pose (navasana) to strengthen your hip flexors.

3. Glute strengthening bridge pose (setu bandha sarvangasana)
The following variations go from the easiest to the most intense glute activating bridge. Choose the variation that is best for you. You can always start with variation one and progress from there.
VARIATION 1:
Lie on your back, bend your knees, and bring your heels toward your sit bones. Before lifting your pelvis up, press your heels down into your mat and lengthen your tailbone toward the backs of your knees. Instead of lifting your pelvis as high as you can toward the ceiling, keep your front hip points pulling up toward your chest and only lift your pelvis until there is a straight diagonal line from your shoulders to your knees. Keep your arms to you side, palms facing down. Imagine a ball between your legs or put a foam block between your inner thighs. Hold here for 20-seconds. Strongly engaging your glutes and inner thighs. Repeat two times.
INCREASE INTENSITY VARIATION 2:
Do the same bridge as above, but keep the heels of your feet to the floor while lifting the balls of your feet up toward the ceiling.
INCREASE INTENSITY VARIATION 3: In-between holding bridge pose for 20-seconds, lower and lift your pelvis 10-times. Rest after the third 20-second bridge hold. Repeat 1-2 more sets of three bridge holds, alternating with 10 pelvis lower and lift movements.
OPTIONAL: Bridge pose with lifted leg: Set-up the same as glute bridge option one, but lift your right leg toward the sky, hold it for 10-seconds and lower your right leg and pelvis. Rest for 5-seconds. Repeat on the left side holding for 10-seconds.

4. Hamstring strengthening bridge pose (setu bandha sarvangasana) variation
Set up the same way as you did for the glute bridge but walk your feet forward four inches into a longer bridge. Follow the same instruction as above for variation 1, 2 or 3, but keep a longer stance with your feet, activating your hamstrings. Repeat 1 -2 more times.
OPTIONAL:
Hamstring bridge with lifted leg: Stay with the longer stance hamstring bridge. Lift your right leg toward the sky, hold for 10-seconds and lower your right foot and pelvis to the floor. Rest for 5-seconds. Repeat on the left side holding for 10-seconds.

5. Supported bridge pose (setu bandha sarvangasana) – open your thoracic spine
Come back to bridge pose with your heel under your knees. Place a block under your pelvis on the second or third height going lengthwise with your pelvis. Tuck your shoulders underneath and rotate your palms so they face up toward the ceiling. Broaden across your collarbones and relax the throat and jaw. Relax as you open your chest and shoulders. Hold here for 60-seconds.
NEUTRALISE YOUR SPINE:
Separate your feet the same distance as your mat and drop your knees so they touch. Rest here for 60-seconds.

6. Reclined hand-to-big toe pose (supta padangusthasana)
Stay on your back, pull your right knee into your chest, place a belt below the ball of your right foot, extend your right leg up as you reach the ball and heel of your right foot toward the ceiling. If you don’t have a belt, take your right hand and hold onto the back of your right thigh or calf muscle, or grab your right big toe with your right index and middle fingers. Keep your left knee bent, or if you decide to reach the left leg out in front of you, ground the left leg into your mat. Gently guide the right leg toward the wall behind you as you draw the right outer hip crease forward. Continue to reach through your heels and balls of your big toes. Lengthen both sides of the waist evenly and maintain the natural curve of your lumbar spine. Hold for 5 breaths and repeat on the opposite side.


7. Thread the needle (sucirandhrasana)
Stay on your back. Bend your knees as if you are setting up for bridge pose. Take your right ankle on top of your left knee. Either keep your left foot on the floor, or place a block under your left foot, or pull your left thigh into your chest holding onto the back of your left thigh with your hands. Press your right shin forward until you get a nice opening in your right hip. If your chin is pointing up to the sky, or there is any discomfort in your neck, place a block or blanket under your head. Hold here for 5 breaths and then changes to the opposite side.

8. Reclined bound angle pose (supta buddha konasana)
Stay on your back. Bend your knees, step your feet in so they touch and butterfly your knees away from one another. You can keep your arms to your side or place your right hand to your heart, left hand below your belly button. Take slow deep breaths toward the pit of your belly and relax your pelvic muscles. For deeper, passive relaxation, place two blocks or blankets under your outer thighs. Hold here for 1-5 minutes, then extend your legs coming out of savasana.

Laura Burkhart is a yoga teacher based in the USA and appeared on the cover of OM in May 2019 (LauraBurkhartYoga.com)
Photos: Samuel Henderson (samuelhendersonphotography.com)

Om Magazine
First published in November 2009, OM Yoga magazine has become the most popular yoga title in the UK. Available from all major supermarkets, independents and newsstands across the UK. Also available on all digital platforms.