GET SKETCHING
Inspire your teaching with simple yoga stick figures
You have probably come across little yoga stick figure drawings: Maybe you learned drawing them during teacher training and already use them to plan your classes, or maybe you never dared to pick up the pen yourself because you think you can‘t draw.
Science has shown that sketching is a powerful tool for learning. Adding visuals to our notes not only looks nice, it also has proven benefits: when we draw, we understand and remember the content better*. We also grasp the information faster as our brain recognises images more quickly than words**. So even if you can’t remember a whole sequence after sketching it, the visual form gives you a quick overview that you can take in at a glance.
No matter where you are in your sketching journey, drawing asanas and sequences inspire and support your teaching in various ways and, with a few practical tips, you can start sketching your own simple but clear stick figures... even without artistic talent.

Keep an inspiration journal
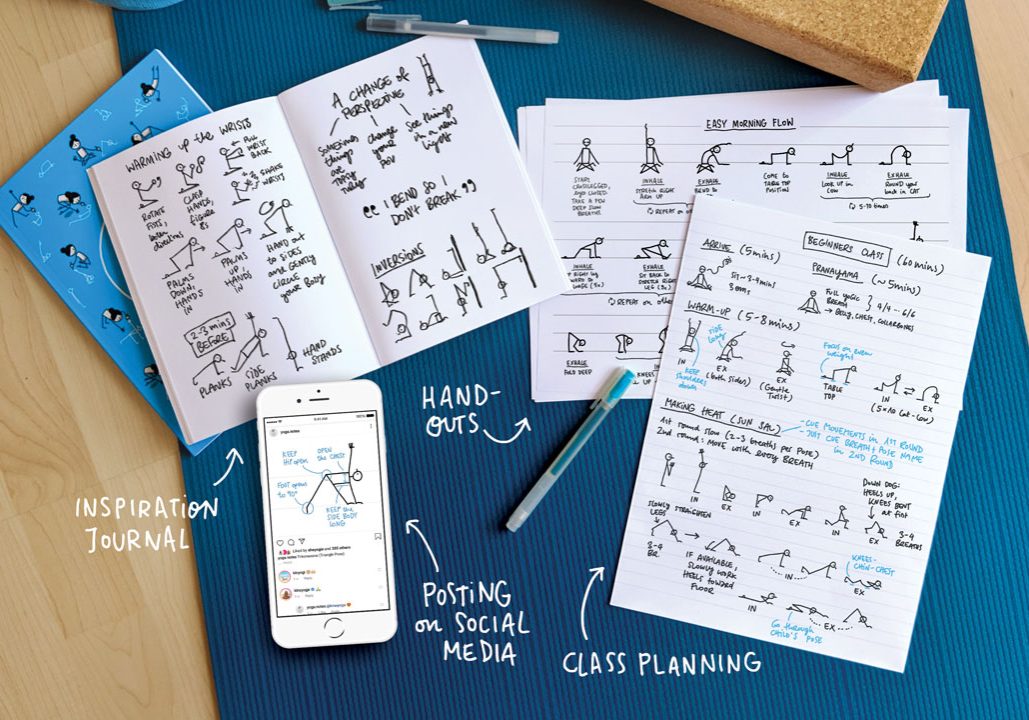
Sketching is a perfect way to collect inspiration for your classes. If you come across a nice piece of sequencing in a class you visited, tried out an interesting transition between poses in your own practice or came up with a particularly effective way for cueing a certain pose, capture these snippets in a notebook by sketching them as short sequences. You can also collect quotes and ideas for class themes alongside.
Next time you need inspiration for a class, just browse through it and let the visual references spark ideas for a new flow.
Analyse other teachers’ classes
Especially when we start out as yoga teachers, learning from good examples is crucial on our way to develop our own teaching style. Sketch out classes from your favourite teachers to analyse their structure: What are the different parts? What is the order of different types of asanas? How are certain poses balanced by counter poses? What is the peak of the sequence and how are the students led there? Trying to sketch a class from memory after attending also strengthens your ‘sequence memory‘ over time and helps you to see patterns during a class.
Plan your classes
This is probably the most obvious application. Visualising a class while planning it helps you to get a better feel for the flow and physical balance of the sequence. For more flexibility, sketch the individual postures on index cards (or small pieces of paper) and move them around until you are happy with the sequence. Redraw a cleaned-up version after the planning stage and keep it in a folder to build up a collection of ready-to-go classes. You can even use it as a reminder during class if you haven’t memorised the whole sequence yet.
Use sketches as a teaching tool
Simple stick figures drawn on a flip chart are a great tool to use in workshops or during teacher training when teaching alignment, anatomy or the principles of sequencing. In addition to physical demonstrations, a simple posture sketch with a few annotations that your students can copy into their notebooks will anchor the material in their memory and they leave with clear and easy to understand notes they can revise later.
Share your flows
Share a printed version of your sketched sequences with your students for their home practice, or create custom practice plans for your private clients.
Using the stick figure format makes it easy for your students to follow the sequence at home.
As social media becomes an increasingly important way to market your studio and your classes, hand sketched flows provide eye-catching content that feels authentic and relatable, and that you can share on Facebook or Instagram.
If you feel inspired now to start sketching some poses, here are 5 tips for getting started and for sharpening up your little stick yogis to be as clear as possible.
Use lined paper
The lines help us with getting the proportions right. Measuring one line space for the legs, one for the torso and neck and one for the arms with extended hands will give us some good enough guidance.

Stick to the baseline
This makes it easy to see how the flow progresses from standing to seated to poses on the floor.
Distinguish front and side view
Looking from the side is the clearest angle for most poses. In side view, sketch the torso as a line. In front view, sketch it as a rectangle to clearly show the position of the shoulders and hips.
Use birds eye perspective
For some poses on the floor, it’s best to sketch it as if seen from above. To distinguish these from standing poses, sketch the mat underneath the figure. ‘Practice and all is coming’ Sketching (like yoga) is a practice. At first, it might feel unfamiliar and awkward and you might not be happy with your drawings. Be kind to yourself, try to relax and give yourself some time to ease into the new skill. You will get better with every stroke.
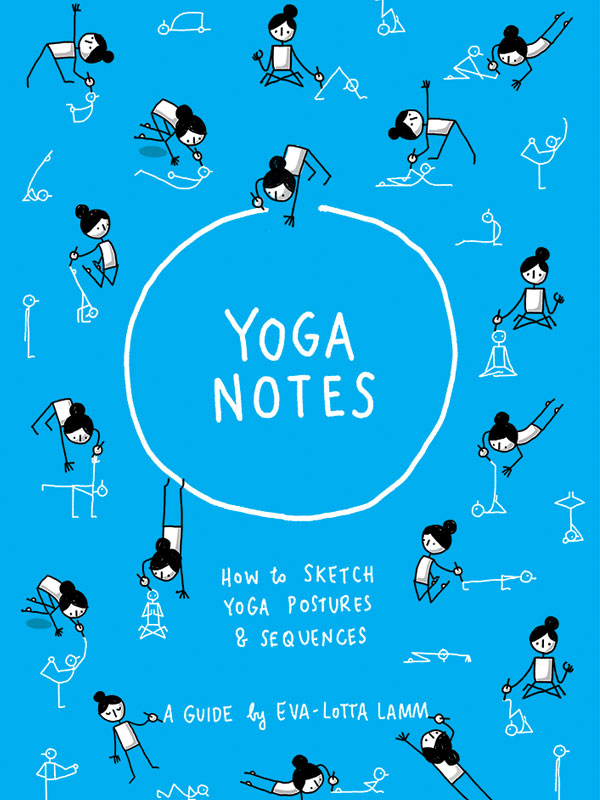
Eva-Lotta Lamm is a designer and yogini who is passionate about helping people to access richer learning and deeper thinking potential by using visual tools. She is the author of 'Yoganotes - How to sketch yoga poses and sequences'.
Yoganotes is a complete guide to sketching yoga postures and sequences. It teaches you a system for drawing yoga postures with a few simple strokes. It's quick and fun to learn, even if you have no drawing or sketching skills.
The book is available as a printed version (€25.90) and as an e-book / PDF (€19.90) at www.yoganotes.net

• The Surprisingly Powerful Influence of Drawing on Memory: https://journals.sagepub.com/doi/abs/10.1177/0963721418755385
** In the blink of an eye: http://news.mit.edu/2014/in-the-blink-of-an-eye-0116


