5 drills for hand- stand foundations
Handstand foundations with Monica Arellano. Five drills to get you ready for going upside down
Handstands require many pieces to work together and come together. By working these pieces individually we can work on handstands little by little and laying the foundations before actually going upside down.
We can also gain insight into our obstacles – what is getting in the way of feeling comfortable upside down? It can be a physical obstacle. If so, these drills will show you right away if there is a physical obstacle for you, by noticing which ones are difficult for you or where you’re getting stuck. It can also be a mental or emotional obstacle. Notice if any other sensations come up for you as you move through these drills; just notice without trying to change anything. Simply by bringing awareness to an emotional or mental pattern that comes up as a result of doing something uncomfortable like starting to go upside down, we have the possibility of moving beyond that reactionary pattern.
Here are a few drills to work some individual components for handstands, plus one to start putting it all together.
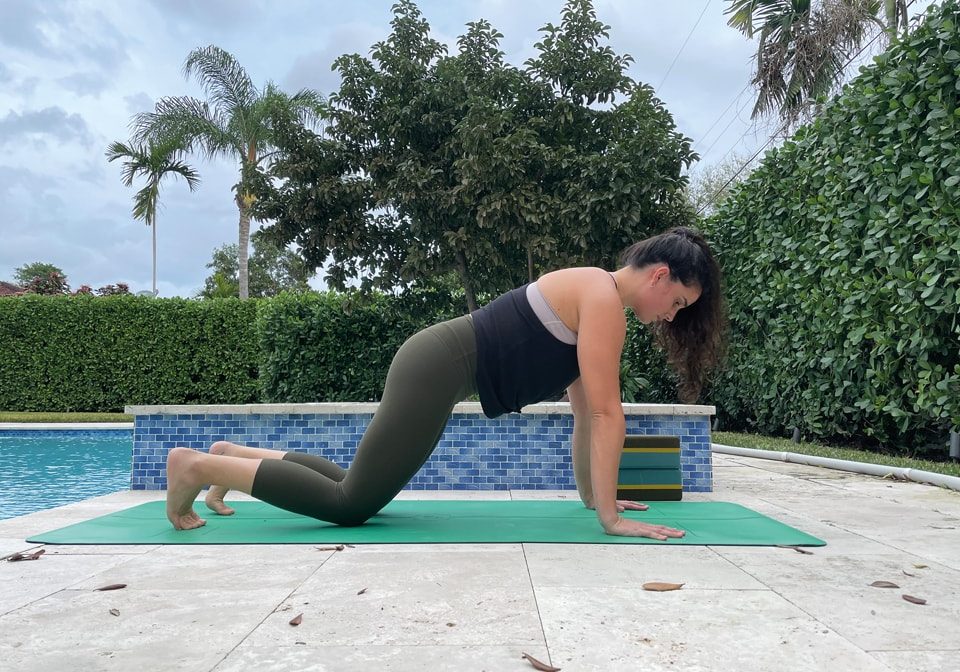
1. Strong Shoulders With Plank
It’s no surprise that you need strong shoulders in order to hold the entire weight of the body through the arms. Our legs are built for holding the body up, but the shoulders not so much, and so we must start building strength through the shoulders if we expect them to do the work of the legs. Plank is a great posture to hold to accomplish this.
Modify by placing the knees on the floors. If you feel comfortable here, lift the knees and engage through the quads. Shoulders should be over the wrists and create a straight line from the top of the head to the heels. To integrate the strength of the upper body with the lower body, tuck the tailbone under so the sit bones are pointing towards the heels, pull the lower belly in to engage deep into the core.
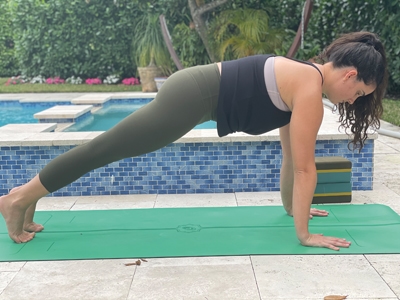
Hold plank for as long as you can to build endurance in your shoulder strength. Endurance and strength will become important when learning to hold a handstand. To make sure the shoulders are properly positioned: move the shoulders away from the ears, and protract the shoulders so the shoulder blades move away from each other and the upper back becomes wider.
Another aspect to work in plank is the floor connection through the hands. Root down through three points – the fingertips, knuckles and heels of the hand. This connection will also help you balance in handstand.
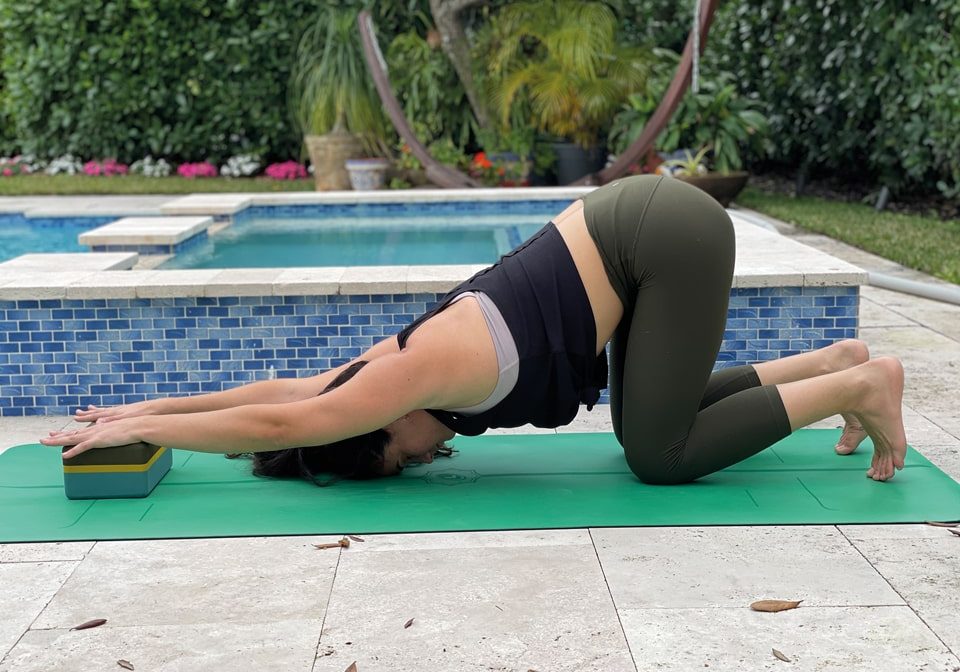
2. Flexible Shoulders With Puppy Pose
Handstand requires flexible shoulders, so that when you’re holding the vertical line of the pose the shoulders are still comfortable. Puppy pose is a great pose to hold to find this flexibility. Modify the pose by placing the hands on a block, keeping the arms straight and the shoulders externally rotated and moving away from each other. Bring the forehead to the floor. Feel a stretch through the front of the shoulders where they connect down into the ribs. It’s important to note, the flexibility required for this posture, as well as handstands, comes from having the arms overhead while maintaining external rotation in the shoulders. Externally rotate the shoulders by moving the shoulders away from the ears and wrapping the shoulder blades towards the front of the body. You can try without a block with the forehead or chest on the floor.
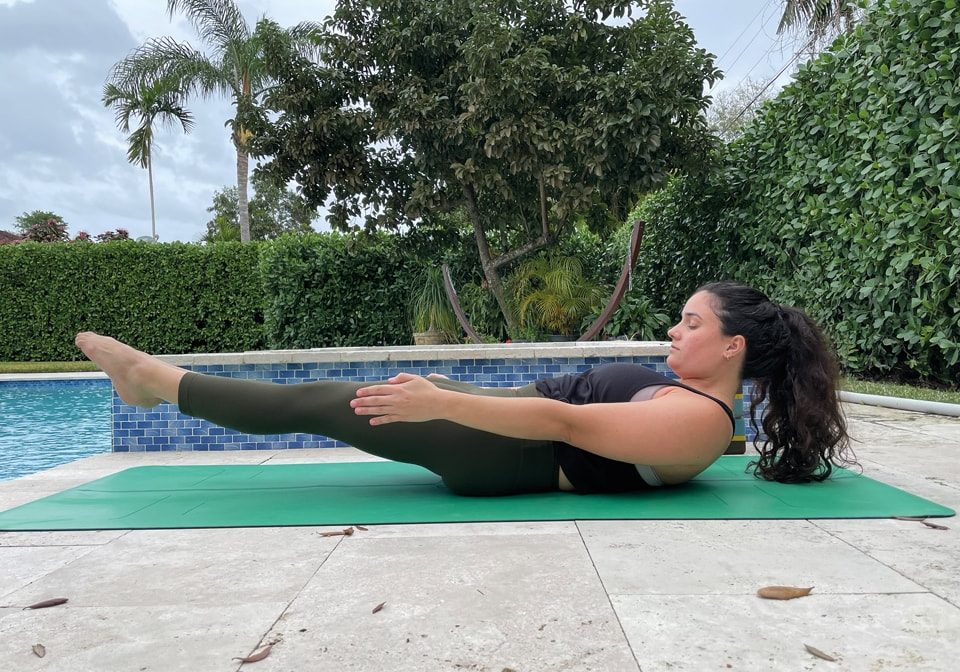
You must learn to control the front body strength and engagement in order to hold the body upside down. It’s about building awareness and body control to be able to stack the body – shoulders over wrists, torso over shoulders, hips over torso and finally legs over hips. It’s about knowing where the body is in space when you’re upside down and then telling the body where you want it to go.
Strengthening the front body will help you get more comfortable with these skills as it relates to handstands. This is where a low Navasana drill comes in handy. From lying on your back, lift the head to look towards the toes and feel the lower back flat on the mat. Feel the hollowness through the front body as you hold this shape as long as you can, adding in repetitions. Avoid arching the lower back and remove the space in the lower back by tucking the tailbone under. To modify bend the knees and touch the floor as lightly as possible with the toes pointed.
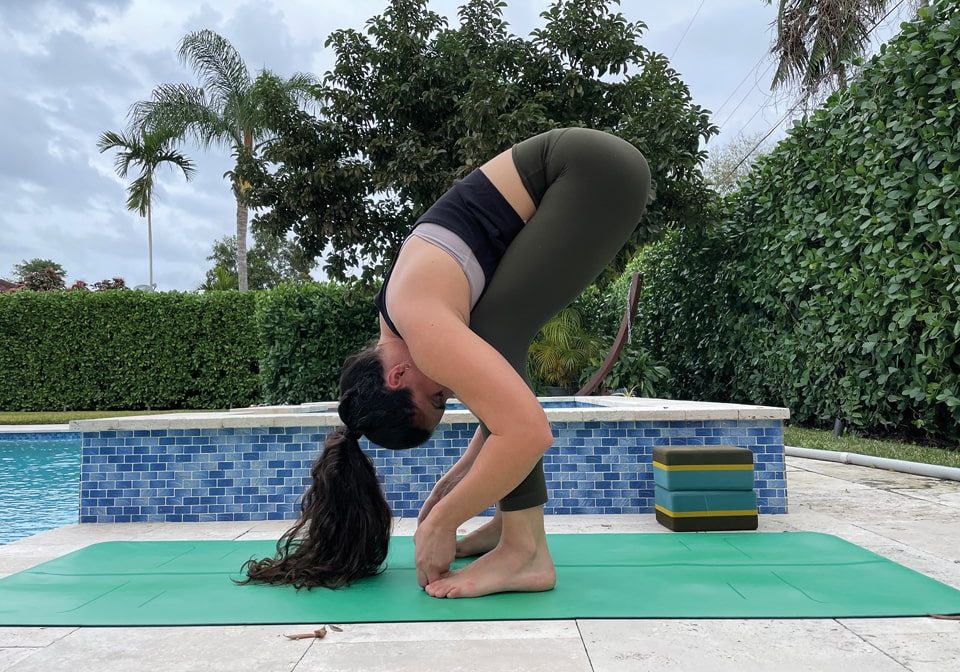
4. Flexible Hamstrings With Forward Fold
Flexible hamstrings will give us more access into moving into the vertical line most efficiently. Without flexible hamstrings the only way to reach the vertical line is by kicking and throwing the body up, which is difficult and uses up our energy quickly. From standing, hold the big toes with legs straight or bent knees to modify. Press down though the feet, lift through the sit bones to encourage the hamstrings to lengthen, pull the lower belly in to encourage space through the pelvis and allow the spine and back to release as the crown of the head reaches down towards the floor. Relax the lower back, all the muscles along the spine, and the neck. Hold this shape for 10 long steady breaths.
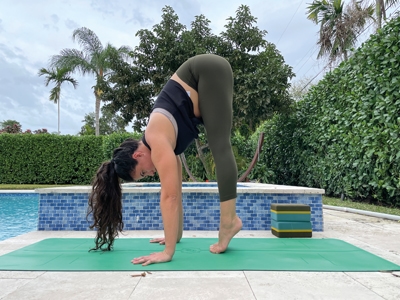
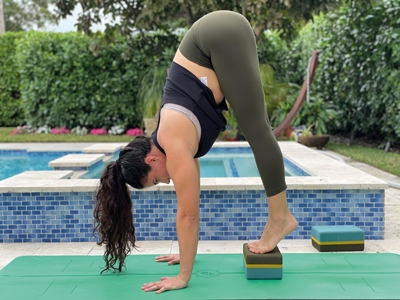
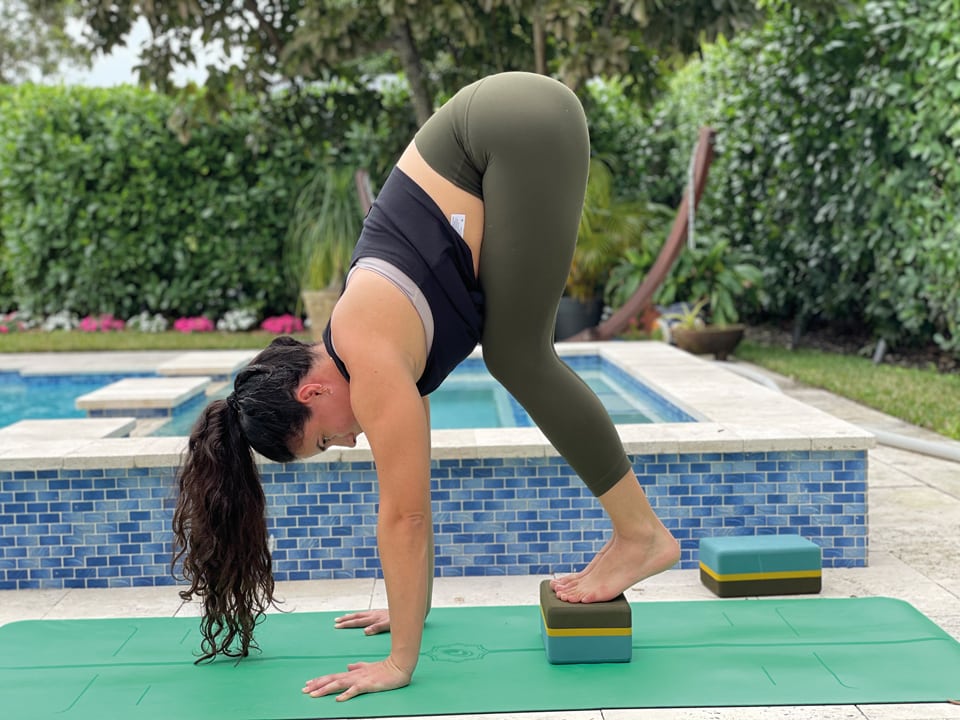
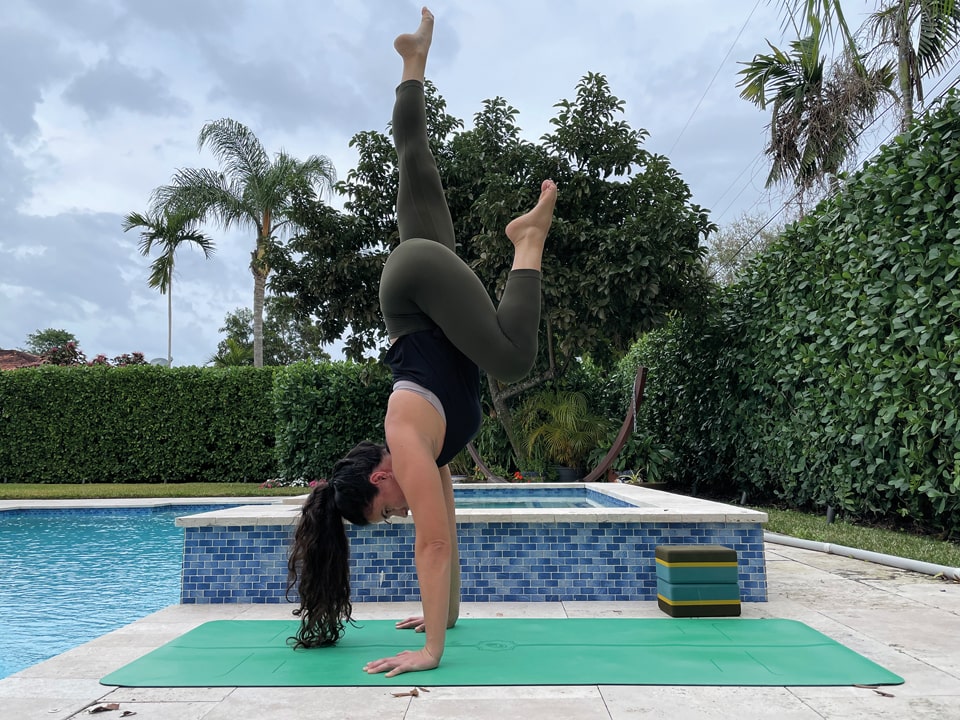
5. Put It All Together With Pike Handstand Hold
Let’s start to get a taste of what it’s like to integrate all these skills to further establish the foundation you’ll need to go up into handstand someday.
From standing, place the hands on the floor about a foot in front of the feet and shoulder-width apart, shift the weight forward into the hands and hold. Remember to incorporate everything you’ve learned so far – root down through the three points of the hands, press through the shoulders, engage through the front body, lengthen through the hamstrings and notice that as the hips start to get closer to coming over the shoulders the shoulders require more flexibility in order to maintain the external rotation. To modify step on a block to give everything a bit more space.


